Getting Started with SenseCraft AI Model Assistant
Now we will quickly get started the modules with SenseCraft AI, and this will only require the module only.
Step 1. Choose model
First, we need to open the main SenseCraft AI Model Assistant page. Go to SenseCraft (opens in a new tab)
Choose the model you want to deploy and click into it.

You can see the description of this model here and if it suit to you, click the Deploy Model button at the right side.

Step 2. Connect the module and upload a suitable model
Please use a Type-C type cable to connect Grove Vision AI V2 to your computer and then click Connect button.

Click Confirm button. In the upper left corner of the this page, you can select USB Single Serial. Then click the Connect button.

Please remain on this page for 1-2 minutes until the model is successfully uploaded. Kindly note that switching to another page tab during this process may result in an unsuccessful upload (our team is actively working on resolving this issue, and it will be fixed soon).
Step 3. Observations
Once the model is uploaded successfully, you will be able to see the live feed from the Grove Vision AI V2 camera in the Preview on the left.

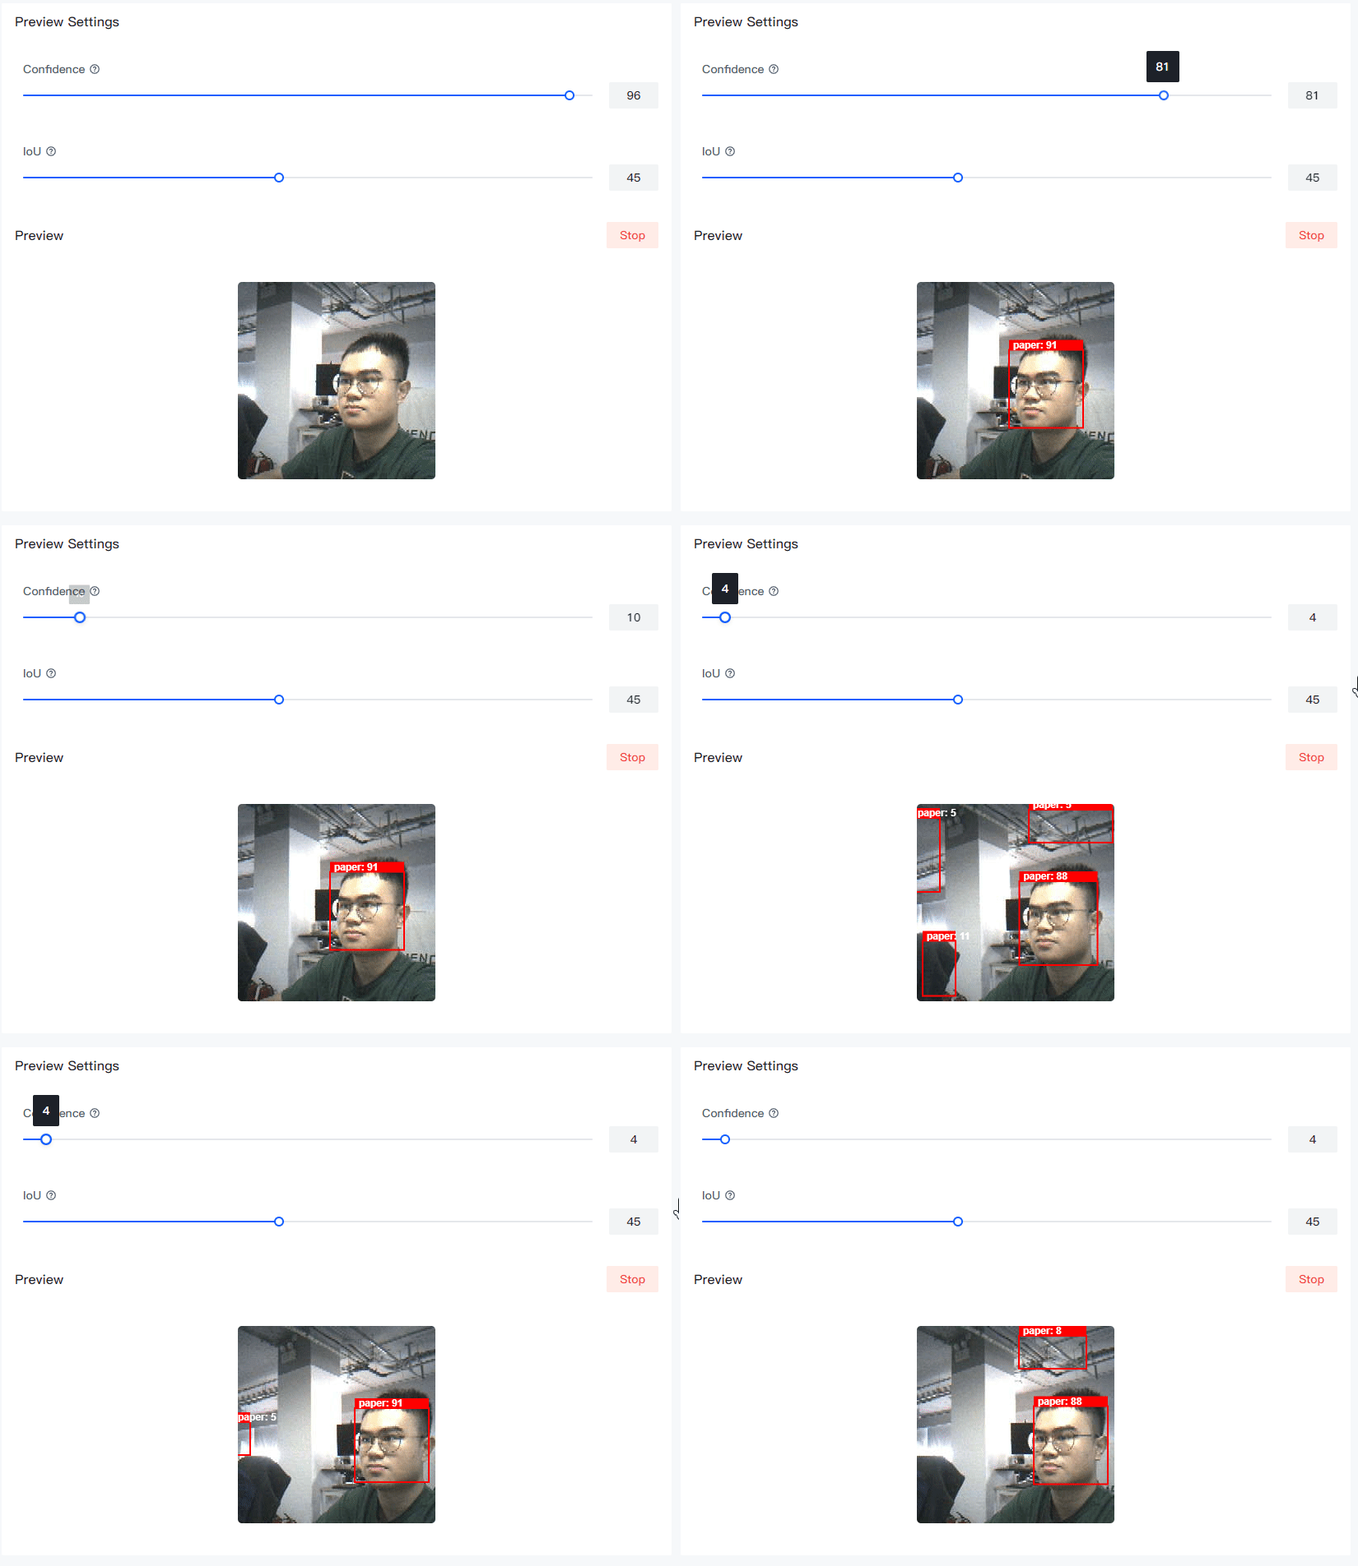
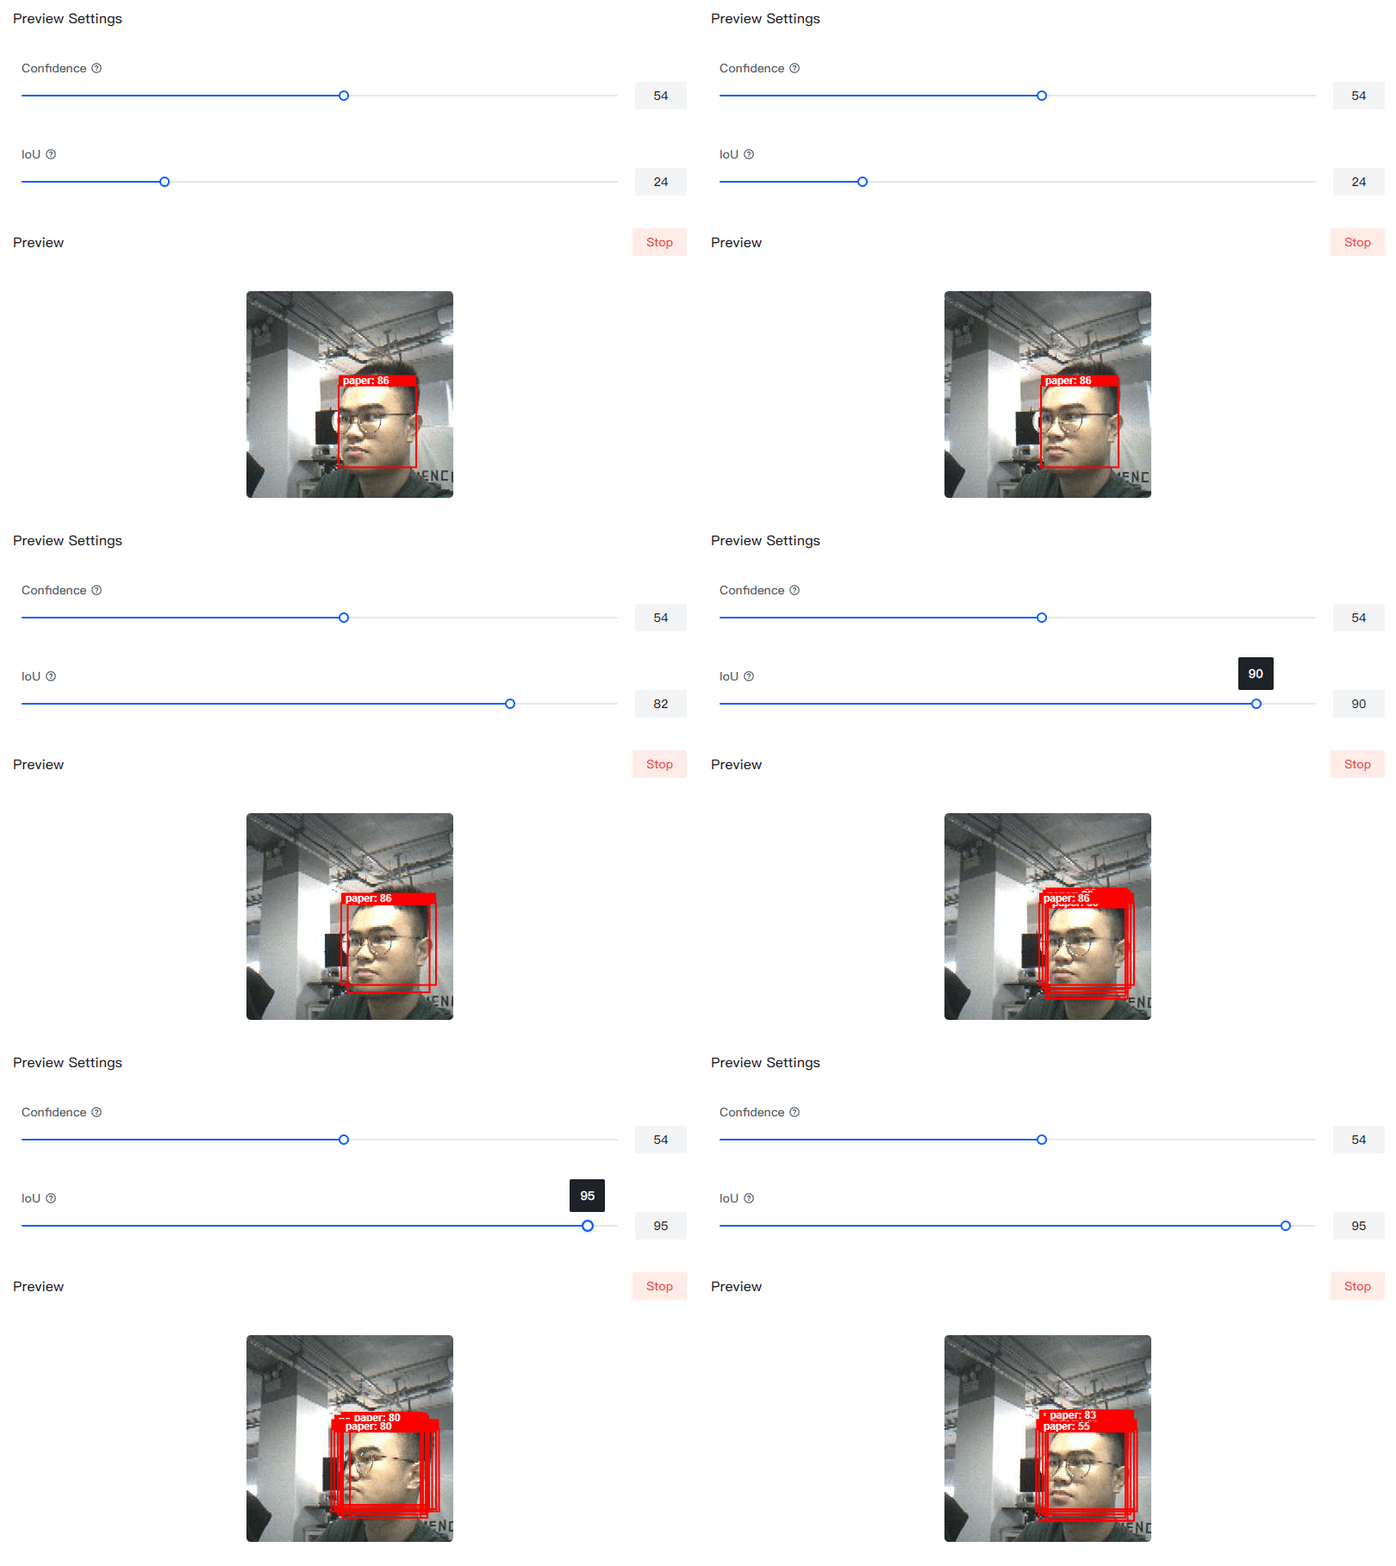
We can see that in the Preview Settings on the left hand side, there are two setting options that can be changed to optimise the recognition accuracy of the model.
- Confidence: Confidence refers to the level of certainty or probability assigned by a model to its predictions.

- IoU: IoU is used to assess the accuracy of predicted bounding boxes compared to truth bounding boxes.

At this point, you have finished uploading the model and observing the results.
ToDo
- Upload a model to Grove v2 and See the results.